A clean bike is a fast bike
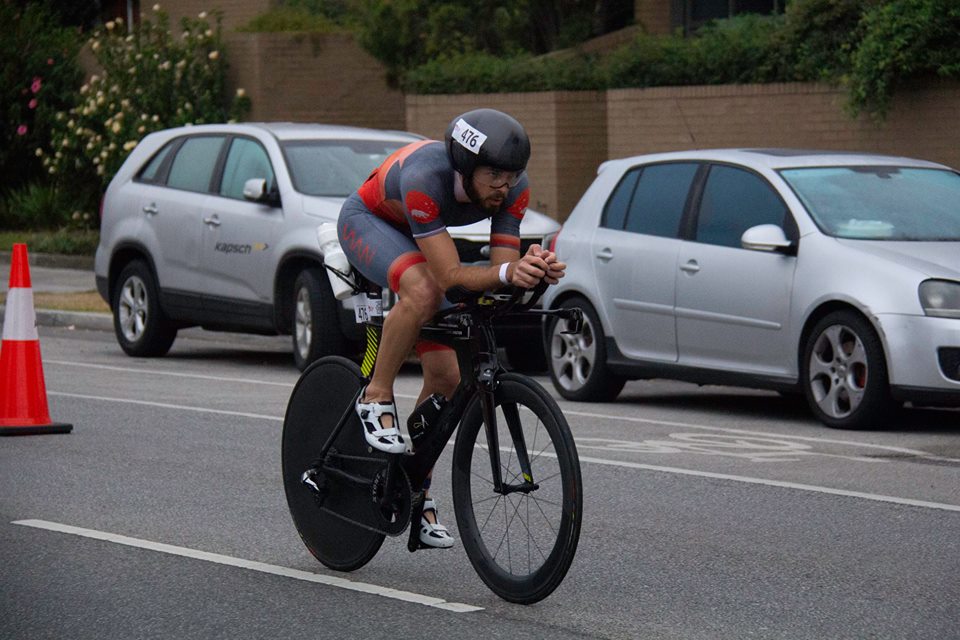
Ever seen a bike mechanic pulling their hair out? Chances are it is a bike owned by a triathlete. Unfortunately, the bike maintenance knowledge of the majority of triathletes is quite poor. Combined with the tricky combination of time trial bikes, race wheels, nutrition accessories etc. it can all be a bit confusing and intimidating.
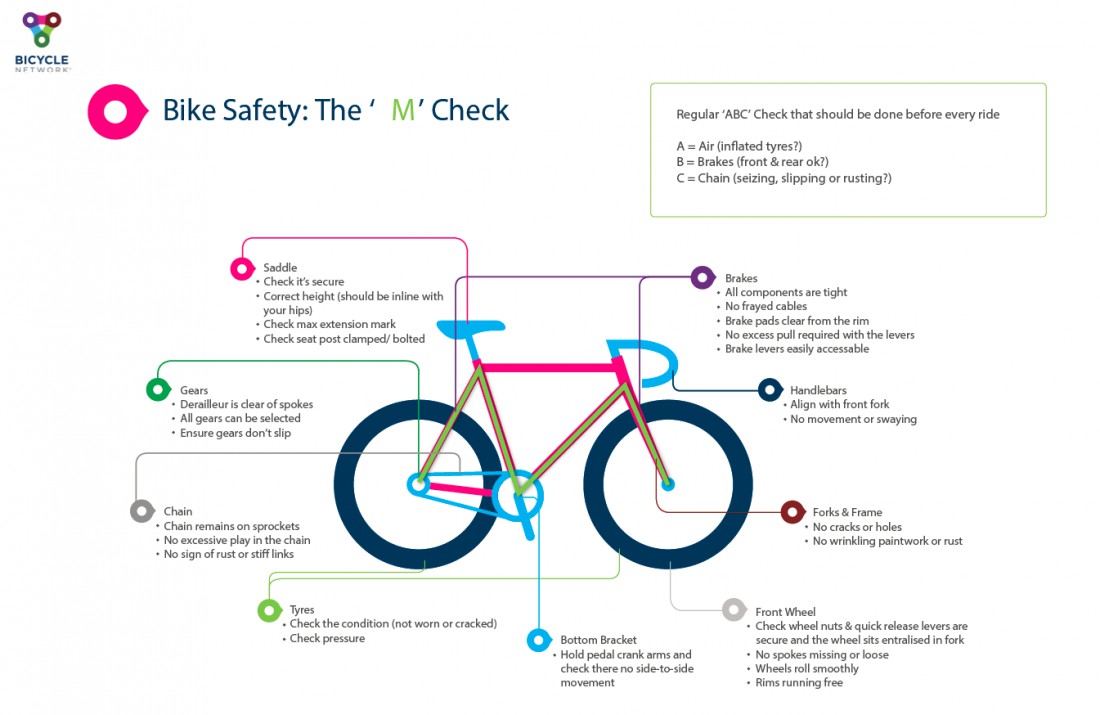
If you want to race fast and train safe make sure you know how to do a pre-ride check.
Pre-Ride Check
The Bicycle Network have developed a great visual for your pre-ride check.
- Check the pressure rating on the wall of your tyre. Typically, road tyres will be around 80-100 psi. Best practice is to check your tyre pressure before each ride and lower it if the conditions are wet or slippery, or pump up to the higher end of the range if conditions are dry.
- Regularly check your tyres for big cuts which may cause a puncture if glass/sharp rocks penetrate.
Brake Checks
One of the most important things to check every ride. The Bicycle Network have a comprehensive overview of the caliper brake (most common), disc brake and V brake systems and how to adjust them.
Always check your brakes after swapping out race and training wheels. It is also important that if you are using carbon racing wheels that you also use carbon brake pads. Typically your bike will come with a heavier alloy wheel which needs alloy brake pads. Your braking may be compromised if you have carbon pads with allow wheels & vice versa.
Repair Kit
On every ride it is important to have a repair kit. Some items will differ depending on your tyre type but here are the common ones:
- Inner tube (useful for clincher, tubular & tubeless tyres*)
- Inflation eg. mini pump or CO2 cannister (x2). A pit stop is useful for racing when using tubular tyres
- Connection for CO2 cannister
- Tyre levers (x3)
- Allen key set
Puncture Repair
There are several ways to learn how to repair a puncture. Some try Youtube, experimenting in our garage or getting a friend / mechanic to show you. Whatever your method, it is important that you know how to repair a puncture because you don’t want your hard earned money wasted on a race entry for a race you cannot finish.
Bicycle Network have a step by step guide.
*Different Tyre Types
Clincher
Has a tyre & inner tube, most common type of tyre set up. The inner tube is what needs replacing when you get a puncture.
Tubular
Has a tyre glued to the wheel rim, with no inner tube. Less common as it is quite time consuming to glue on the tyres and replace them. More puncture resistant and if it has a small puncture the sealant inside or a Pit Stop can repair the puncture.
Tubeless
Becoming more common. The tyre sits neatly inside the rim & forms it’s own seal. The tyre will be filled with sealant to repair small punctures. Generally more puncture resistant but messy when you need to repair.
Bike Cleaning
A clean bike is a fast bike. But be careful with how you clean your bike. The high pressure car wash system or trigger hose is not a good option as it can affect the bearings in the frame & moving parts of the bike. Bicycle Network have compiled a method on cleaning your bike. Use a specific bike wash and soft spray / bucket. You can also ask your local bike shop to do a thorough clean where they will remove the cassette & chain.
After cleaning you should lube your chain and wipe down. You should do this once per week outside of cleaning.
When to service your bike
- At a minimum every 6 months even if you don’t ride that often, but more like 3-4 months if you ride frequently (3 times per week or more)
- When the bike ‘hesitates’ to change gear or clicks when you are pedaling in any spot
- When you pull the brake lever and it takes longer for the bike to stop or you pull the lever in closer to the handlebar
- At least one week before a major race even if you have had a recent service
New Parts
- A cassette and chain would typically be replaced at the same time, so if your chain is worn (stretched) or the teeth on your cassettes have worn down you’ll likely need to replace both. Typically this would be every 12 months if you ride frequently. It may be less than that if you do large kilometers or ride on wet or debris ridden roads. The chain can be checked using a special tool to see how far it has stretched.
- Cables should be replaced every 12 months but more frequently for triathletes due to exposure to salt water (ocean & sweat). If the gears are not changing well, or brakes not working or any cable is frayed it should be replaced.
- The tyre may need replacing approx. every 1000km. Best practice is to replace both front & rear at the same time. Check for any frayed threads on edges, threads visible under the rubber, large cuts or many smaller cuts. All of these increase risk of puncture.
- Cleats should be replaced when the coloured plastic on the bottom has worn away to reveal black underneath or if your foot is moving too much in the pedal.
More Information: Triathlete: Your Bike Maintenance Schedule
GPC’s recommended bike shop is Belmont Bicycle Centre. They do a great job not only servicing but going the extra mile to explain and show an athlete how to care for their bike.
More GPC Cycling Blogs:
Cycling Safety for Non Drafting & Drafting Triathlon & Road Cycling
essential-tri-gear-part-2-cycling